Get started with Arduino IDE.
One clear path from a board on your desk to “Hello, ESP32!” on your screen. Use a computer for installation; keep this guide open on any device.
Three things on your desk.
- Your ESP32 development board.
- A USB cable that carries data, with the right connector for your board.
- A Windows, macOS, or Linux computer with an internet connection.
Disconnect external circuits for this first test. Connect the board directly to your computer. A power LED confirms power, but does not prove the cable carries data.
Classic ESP32 uses a USB-to-UART bridge. Select its serial port; native USB CDC settings do not apply.
No USB port showing up?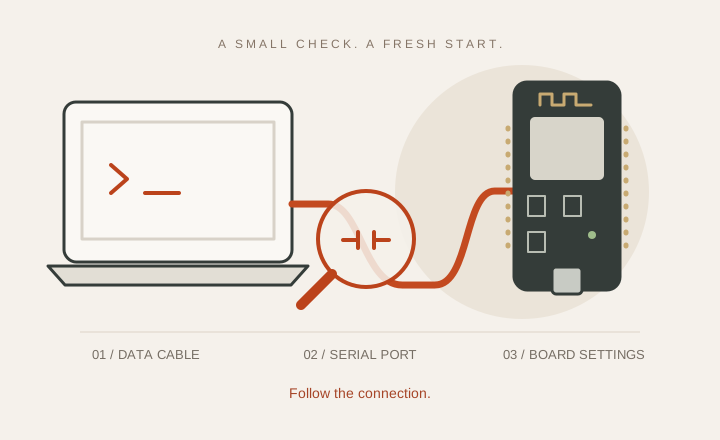
Install Arduino IDE.
Installing the editor is shared. The board profile, firmware and examples below follow your board choice.
Download Arduino IDE for your operating system, install it, and open the editor.
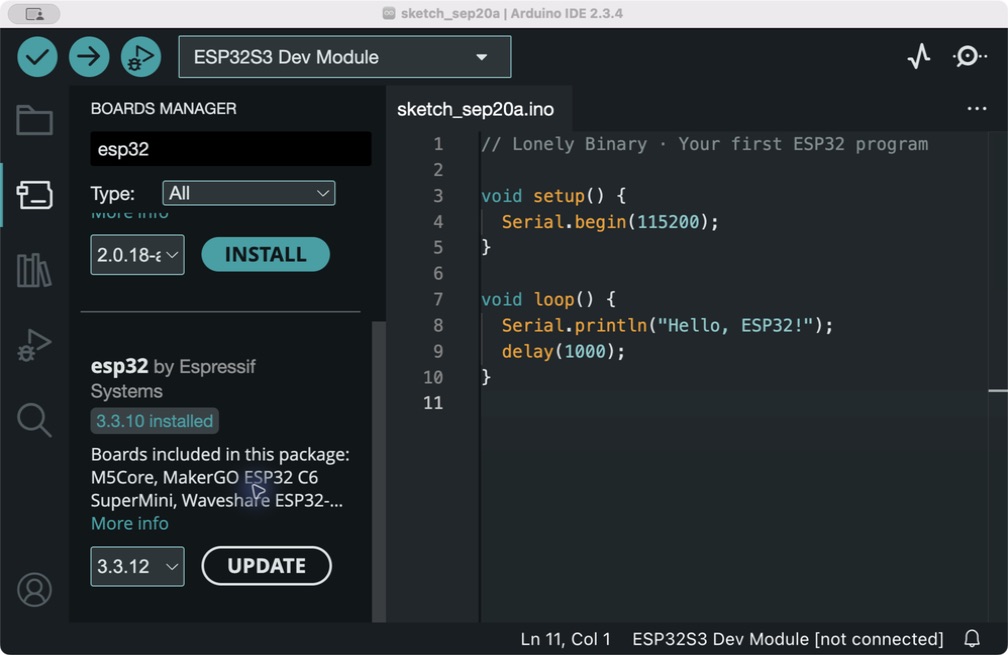
- Open Preferences and find “Additional boards manager URLs”.
- Add the Espressif package URL below, keeping any existing URLs.
- Open Boards Manager, search for esp32, and install esp32 by Espressif Systems.
https://espressif.github.io/arduino-esp32/package_esp32_index.json
 View full size ↗
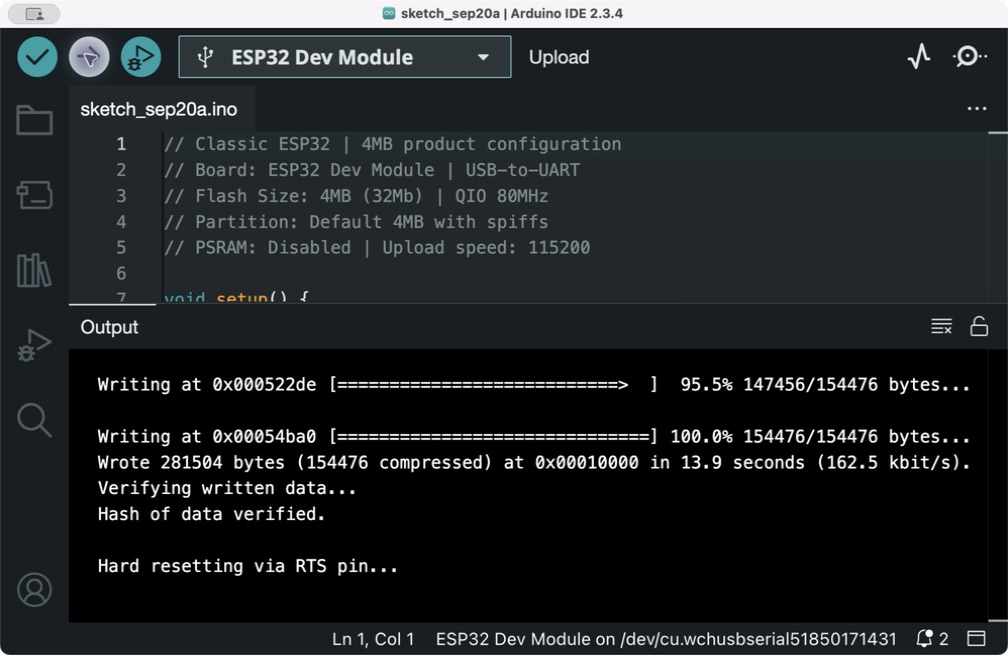
Match the settings to your board.
Choose ESP32 or ESP32-S3 above to see its settings. For another family, use its exact board reference.
 View full size ↗
Say hello. See it working.
This test uses serial output instead of an LED, so it doesn’t depend on which LED your board has.
void setup() {
  Serial.begin(115200);
  delay(1500);
}

void loop() {
  Serial.println("Hello, ESP32!");
  delay(1000);
}Send it to your board.
- Paste the code into a new sketch and save it.
- Click Upload and wait for it to finish.
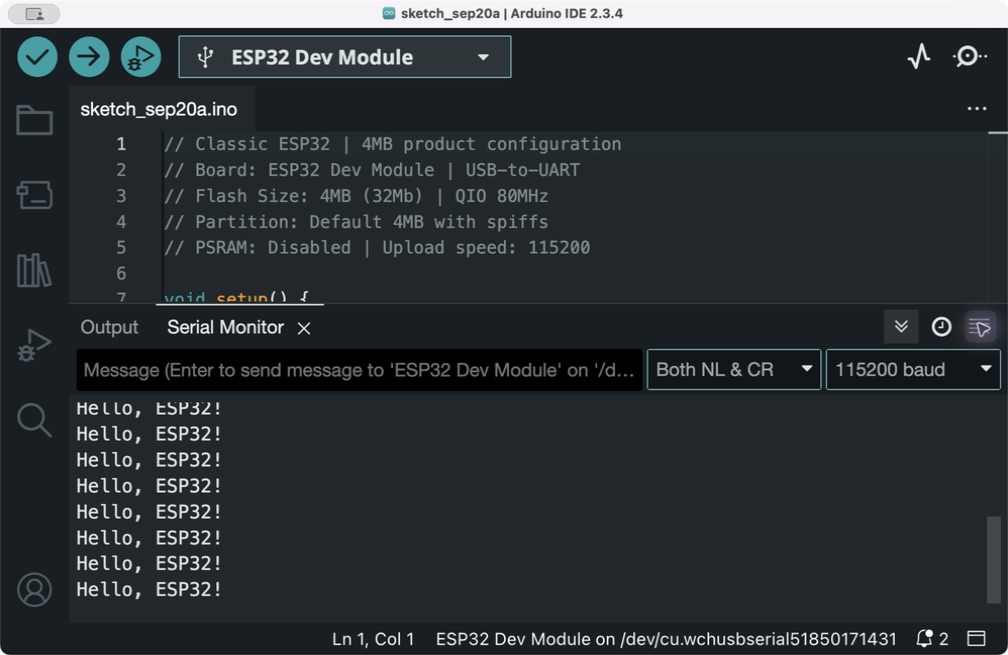
- Open Serial Monitor and select 115200 baud.
That confirms your editor can send a program to the board and read its output.
 View full size ↗
Make something happen.
Check the tutorial’s required components and your board’s pinout before wiring.