
Two ways out, one pair of nets
Four holes at the output end, all empty, and only two nets. The 3.5 mm pair and the 2.54 mm pair are alternatives on the same copper, 1.8 mm apart: solder pins into one, wire into either.
Four holes, two nets
The output end has two pairs of plated holes, and the pairs overlap into a figure-of-eight pad. Nothing is fitted in any of them:
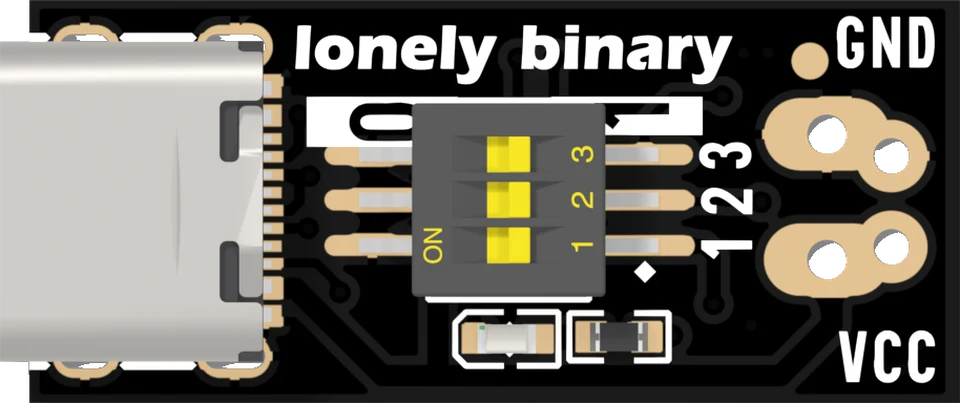
The larger pair is 1.1 mm across and 3.5 mm apart — the footprint of a two-way terminal block at that pitch. The smaller pair is 1.0 mm across and 2.54 mm apart, which is the standard breadboard pitch. They are 1.798 mm apart along the board and joined by copper, so they are the same two connections offered twice, not two separate outputs.
Pins for a breadboard
For a board that plugs into a breadboard alongside the rest of a circuit, break two pins off a strip and solder them into the smaller pair. The strips are in the bag: straight for a board that stands up out of the breadboard, right-angle for one that lies flat against it. The lower hole is VCC.
Hold the pins square with the board resting on a breadboard while you solder them, and give each joint a couple of seconds so the solder runs through to the other face.
A terminal block, if you want one
The design's parts list names a DORABO DB301V-3.5-2P for the larger pair, and any two-way terminal block at 3.5 mm pitch with 1.1 mm legs will go there. It is not in the box. It takes bare wire without soldering and holds against a tug, which is why it suits a board that will be screwed into a case. But its body runs from roughly 19.0 mm to 25.5 mm along the board in the DB301V's 3D model, and the header holes are at 24.15 mm, so a block covers the pins' holes. Decide which set you want before you solder either.
Or use neither
The holes do not need a connector in them. For a build that will be screwed into a box and left there, tin a length of wire and solder it straight through either pair — 1.1 mm takes up to about 20 AWG comfortably, which is more copper than most of these boards will ever be asked to carry.
Whichever way the wire leaves, check the polarity before the charger goes in. VCC on this board can be 20 V, and there is nothing on it to stop a reversed connection reaching your circuit.
When it does not work
The lower pair, marked VCC. GND is the upper pair, nearer the GND lettering and the top edge of the board. Both faces of the board print the same two labels in the same place, so you can check from whichever side is facing you.
Not both on the same board. A 3.5 mm terminal block is deep enough to cover the 2.54 mm header holes (the DB301V on the design's parts list is about 6.5 mm deep along the board, and the header holes are 1.8 mm from its pins), so the body would sit over the pins' holes. Choose one set per board.
Solder one pin, check it is square to the board, and reheat that joint if it is not before soldering the second. Pressing the pair into a breadboard first holds both at the right spacing, which is the usual trick for a board this small.
The one indicator on the board, and why it looks identical whether the charger agreed to 20 V or refused.
The LED says power, not success →Edit this page — content/books/pdtrig/two-ways-out.mdx
Questions about this product
See what other owners have asked, and read their solutions.
USB-C PD Trigger, 100 W Decoy 5–20 V, 12-Pack
Loading discussions…
Discuss this article
Ask about this page. The answer stays here, on the page it belongs to, for whoever hits the same wall next.