
What is in the box
Twelve identical boards, each 26.0 × 11.3 mm and bare at the output end, and four forty-pin header strips to solder into them.
What the bag holds
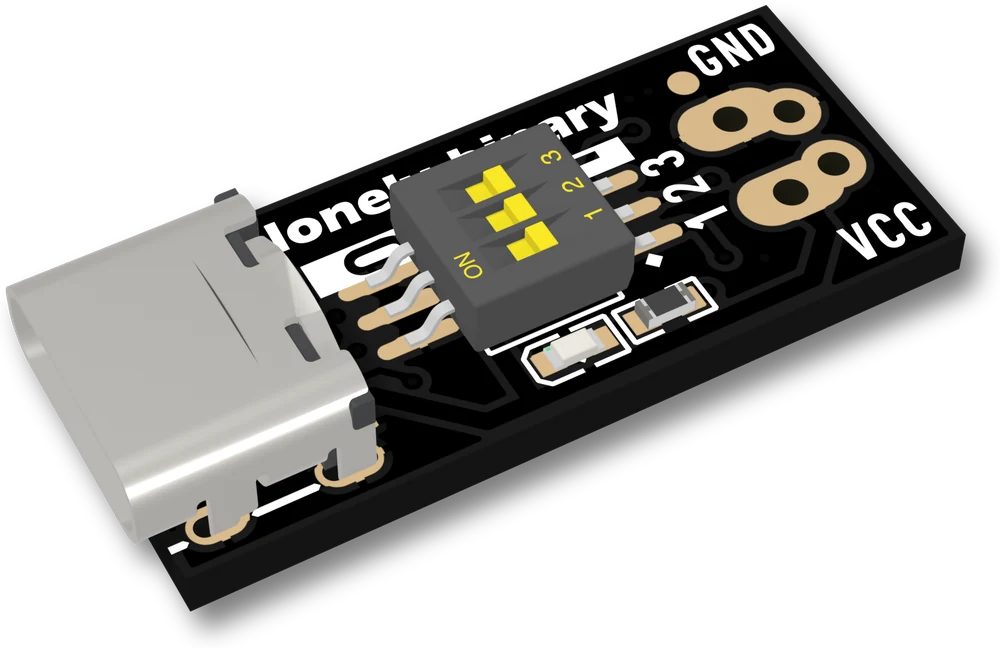
- 12 trigger boards, each 26.0 × 11.3 mm, with the USB-C socket, the chip and the three-way switch soldered on. The output end is bare: four empty holes.
- 2 × 40-pin straight breakaway male header strips.
- 2 × 40-pin right-angle breakaway male header strips.
The header arithmetic
Two holes a board. Twelve boards. Twenty-four pins, out of a hundred and sixty in the bag.
So there is nothing to ration, and nothing to plan. Break pins off in pairs with a pair of pliers, and use the right-angle strips on any board that has to lie flat against a surface.
The pins are not the only thing that fits those holes, and two ways out is about the choice: the small header pair sits 1.8 mm from a larger pair meant for a 3.5 mm terminal block, and both lead to the same two nets. There is no terminal block in the bag.
What is not in the box
No cable and no charger. You need a USB-C lead and a supply that does Power Delivery, and which supply you have decides most of what this board can do for you. If you only have an old 5 V brick, start by reading what the charger must offer before you wire anything up.
When it does not work
Because the strips are a stock item and come in forties. Each board has two header holes, so twelve boards want twenty-four pins out of the hundred and sixty in the bag. The strips are there so you can put pins on the boards you want on a breadboard, not because you are expected to use them all.
Yes. There is one design in the bag, twelve times, and the back of every one carries the same revision marking and the same voltage table. Nothing needs sorting and no board is set up differently from the others out of the bag.
Do not assume so. The levers hold whatever position they were knocked into, and a board that reads 5 V is indistinguishable from one that reads 20 V until you look at them. Read the levers on each board before you use it — the article on the three switches shows how.
A socket, a chip you cannot see, three levers and two ways out — in the order they sit on the board.
The board, end to end →Edit this page — content/books/pdtrig/whats-in-the-box.mdx
Questions about this product
See what other owners have asked, and read their solutions.
USB-C PD Trigger, 100 W Decoy 5–20 V, 12-Pack
Loading discussions…
Discuss this article
Ask about this page. The answer stays here, on the page it belongs to, for whoever hits the same wall next.