A label is not a receipt
A receipt is a stream. A label is a page: the printer finds the gap, you declare a size, you place things inside it, and only then does it print. Skip the first step and the text lands across the join.
Four steps instead of one
Everything before the last step is preparation. The printer holds the page in memory and the paper does not move — which is why a label job that fails half way leaves you with a blank label rather than half a printed one.
The gap is the whole difference
Labels are die-cut, with a few millimetres of bare backing between them, and a sensor looks through that bare strip. The calibration pass feeds paper until it sees one, and from that moment the printer knows where a label starts.
Skipping it does not produce an error. It produces a label printed across the join between two labels, which is the single most common complaint about label printers and is almost never the printer's fault.
Dots, not millimetres
Sizes go in as millimetres; positions go in as dots. At 8 dots per millimetre, a 55 × 30 mm label is a page 440 × 240 dots — except that the head is only 384 dots wide, so the usable width is 48 mm whatever size label you load.
The library keeps a small margin of its own inside the page — 1 mm on the left, 2 mm top and bottom — so a drawing placed at 0,0 is not quite against the edge. That is deliberate: label stock wanders by a fraction of a millimetre as it feeds, and printing right to the cut line is how you get text with its top sliced off.
The code
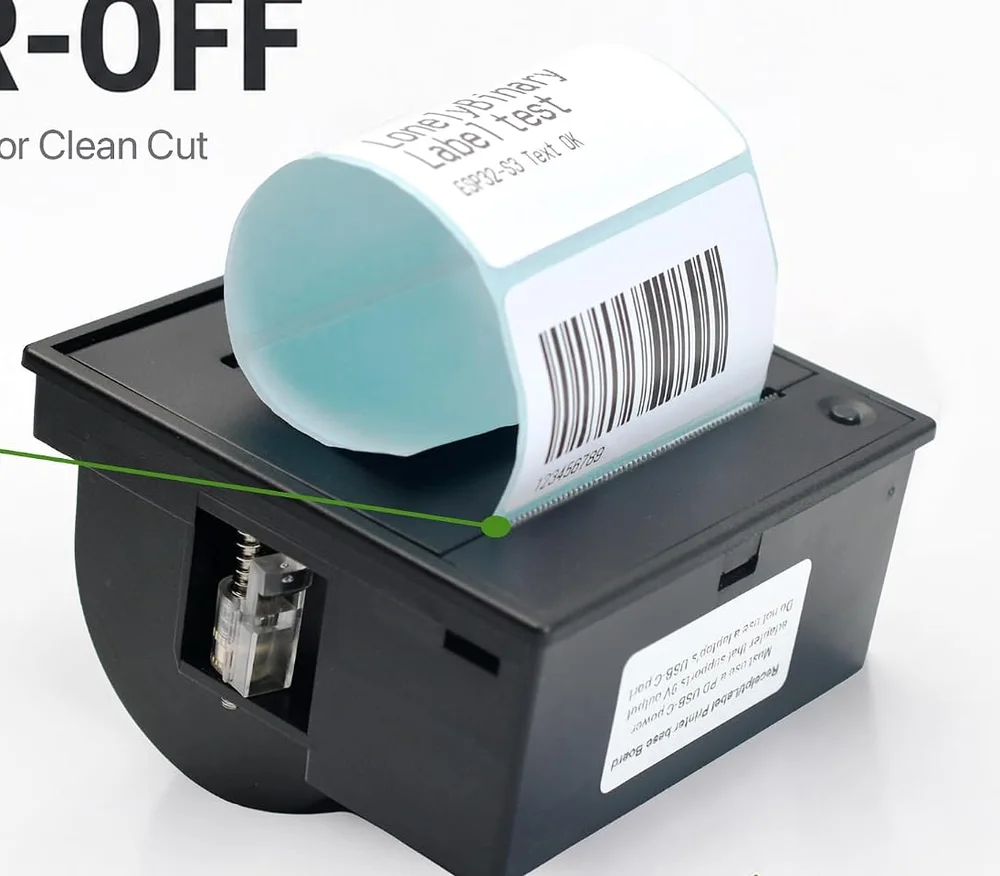
One 55 × 30 mm label with a heading, a line of text and a barcode on it, using the LonelyBinaryLabelPrinter library from the kit's GitHub repository. The library sends the calibration pass and the page frame for you; what is left is where things go.
// Label printer wiring for this sketch.
//
//   USB-C PD charger (9 V capable) -> base board PD TYPE-C
//   base board PRINTER POWER -> printer POWER socket
//   base board PRINTER DATA TTL -> printer TTL socket
//
//   base board 3V3 MCU header -> ESP32-S3:
//     TX  -> GPIO16   (this board's RX)
//     RX  -> GPIO17   (this board's TX)
//     3V3 -> 3V3
//     GND -> GND
//
// Arduino IDE: Tools > Board "ESP32S3 Dev Module", Tools > USB CDC On Boot
// "Enabled". Library: LonelyBinaryLabelPrinter, installed from the ZIP in
// github.com/Lonely-Binary/Receipt-Label-Printer.

#include <LonelyBinaryLabelPrinter.h>

#define PRN_RX 16
#define PRN_TX 17
#define PRN_BAUD 115200   // printed on the printer: TTL 115200 N-8-1 9V

LabelSerialESP32 printerSerial(2, PRN_RX, PRN_TX, PRN_BAUD);
LabelPrinter printer(printerSerial);

void setup() {
  Serial.begin(115200);
  delay(500);

  // The size of one label, in millimetres. This also runs the gap
  // calibration pass, which takes about two seconds.
  if (!printer.labelSize(55, 30)) {
    Serial.println("label size rejected - margins larger than the label");
    return;
  }

  printer.newLabel();

  // Positions are in dots, and there are 8 dots to the millimetre.
  printer.setFont(FONT_2X);
  printer.setPos(0, 0);
  printer.println("Lonely Binary");

  printer.setFont(FONT_1X);
  printer.println("Shelf B3 - qty 12");

  // Height in millimetres, unit width in dots. 2 is the sensible floor:
  // at 8 dots/mm a single-dot bar is an eighth of a millimetre.
  printer.barCode(10, 2, "LB1234567");

  // Nothing has printed yet. This is the step that commits the page.
  printer.endLabel();

  Serial.println("sent");
}

void loop() {
  // Ask about paper once a second. Read the three-byte reply, not one byte.
  delay(1000);
}
Install the library first — Sketch > Include Library > Add .ZIP Library, and pick LonelyBinaryLabelPrinter.zip from the repository. Nothing here compiles without it. If the text lands half on one label and half on the next, the calibration pass did not happen: check that labelSize ran before newLabel.
When it does not work
The printer never found the gap, so it does not know where a label begins. Calibration is the 1F 63 pass the library runs inside labelSize — call that before newLabel, and give it the two seconds it needs before sending anything else.
The LonelyBinaryLabelPrinter library is not installed. It is not in the Arduino library manager: download the ZIP from the kit's GitHub repository and use Sketch > Include Library > Add .ZIP Library, then restart the IDE.
Positions are in dots, not millimetres, and there are 8 of them per millimetre. setPos(10, 10) is just over a millimetre in from the corner. Multiply the millimetres you want by 8, or use the library's mmToDots helper.
The head is 384 dots wide, which is 48 mm, and a label wider than that simply does not get printed on past the edge. A 55 mm label has 48 mm of printable width and about 7 mm that no amount of positioning will reach.
The printer draws both from a string, and the arithmetic that decides whether they fit.
Barcodes and QR codes →Edit this page — content/books/thermal-printer/a-label-is-not-a-receipt.mdx
Questions about this product
See what other owners have asked, and read their solutions.
This page covers several products. Choose yours to see the right discussions.
Discuss this article
Ask about this page. The answer stays here, on the page it belongs to, for whoever hits the same wall next.