Eight LEDs, three wires
A seven-segment digit is eight separate LEDs in one package, and eight LEDs want eight pins. The small black board in the box is there so that they want three instead, and so that the number stays at three when you add a second digit.
A digit is eight lights
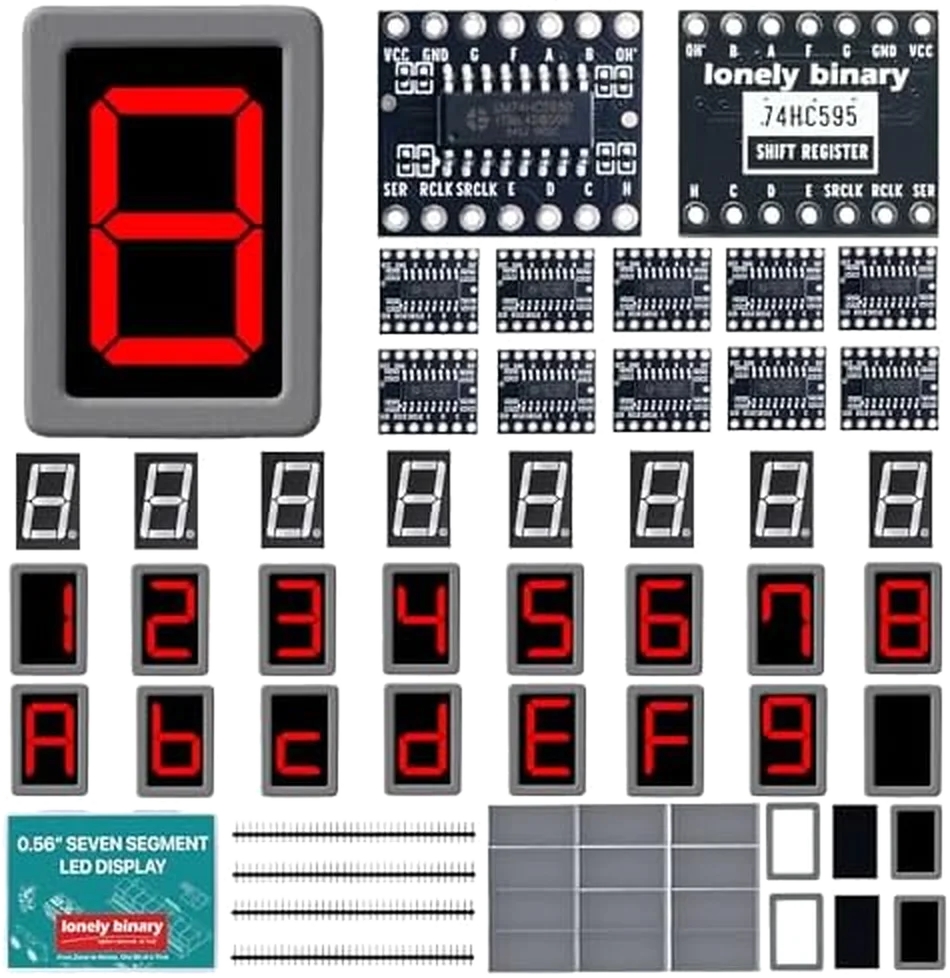
The red figure-of-eight on the front of the display is not one part. It is seven bar-shaped LEDs arranged around a number, plus a round one for the decimal point. Light some and leave the rest dark and you get a digit. Light all eight and you get an 8 with a dot.
Each of those eight has its own pin on the package. Nothing decides which of them are on except what you connect them to, which means a bare digit needs eight wires and eight current-limiting resistors to show a single character.
Eight wires each is a slope, not a number
One digit costing eight pins is survivable. Two costs sixteen, and an Arduino Uno has eighteen pins you can reasonably use. Move the slider and watch where the two lines meet.
The driver board's line is flat. That is the whole point of it: the board takes a byte, one bit at a time, on three wires, and sets eight output pins from it. Chain a second board to the first and you have sixteen outputs on the same three wires, and a third makes twenty-four.
What you give up
Speed, and not much of it. Sending eight bits one at a time takes a few tens
of microseconds on an Uno, against a fraction of one for eight digitalWrite
calls. For a counter, a clock or a temperature readout that is invisible.
You also give up the ability to change one segment on its own. The board sets all eight of its outputs at the same instant from the byte you send, so changing one segment means sending the whole byte again. In practice that is what you want anyway — a digit changes as a digit.
The trick is not about displays
A 74HC595 does not know it is driving a display. It converts serial data into eight parallel outputs, and those outputs can go to relays, to indicator LEDs, to the enable pins of eight other chips. The display is just the version of the problem where a mistake is visible: get the bit order wrong and you see it immediately, in which bars light up.
That is worth learning once. The driver board is the same chip everybody else's shift register project uses.
When it does not work
For one digit, yes — eight pins, and a resistor in series with every one of them. You need the resistors: an Arduino pin connected straight to an LED will push more current through it than either part is rated for. The driver board already has those eight resistors on it, which is most of why wiring one digit through the board is less work than wiring it direct.
No. A four-digit module lights one digit at a time, very fast, and relies on your eye to blend them — that is multiplexing, and it needs code running constantly. Each digit here has its own driver board and stays lit until you change it, so a digit you set keeps showing until you set it again.
Because the digits come in two kinds and you get twelve of each. Twelve boards is enough to drive twelve digits at once; the other twelve digits are the other kind, so you can build with whichever suits the project. Two kinds of digit covers which is which.
The driver boards ship with their pin headers loose in the bag, so yes, if you want to use a breadboard. A push-fit wire through an unsoldered hole makes a contact that changes every time anything moves, and the symptom is missing segments that come and go — which reads exactly like a code bug.
How three wires turn into eight outputs, one clock pulse at a time.
Shift, then latch →Edit this page — content/books/seven-segment/eight-leds-three-wires.mdx
Questions about this product
See what other owners have asked, and read their solutions.
24-Pack 0.56" 7-Segment LED with 74HC595 Driver
Loading discussions…
Discuss this article
Ask about this page. The answer stays here, on the page it belongs to, for whoever hits the same wall next.