Specifications
| Type | Infrared emitting LED |
|---|---|
| Wavelength | About 940 nm |
| Control | Digital on/off, or PWM for a carrier |
| Supply voltage | 3.3 V or 5 V |
What it is
An IR LED with its resistor. Set the pin high and it emits; the light is at about 940 nm, which is past what your eye can see.
Unlike TK16 there is no assumption that you are talking to a remote-control receiver. Drive it steadily and it is one half of a break-beam: put TK64 opposite it and anything crossing between them is detected. Drive it at 38 kHz and it can talk to TK15.
The invisibility is the practical problem. A dead IR LED and a working one look identical, so the first debugging step is always a phone camera — most sensors see 940 nm as a faint purple glow, which is how you confirm it is emitting at all.
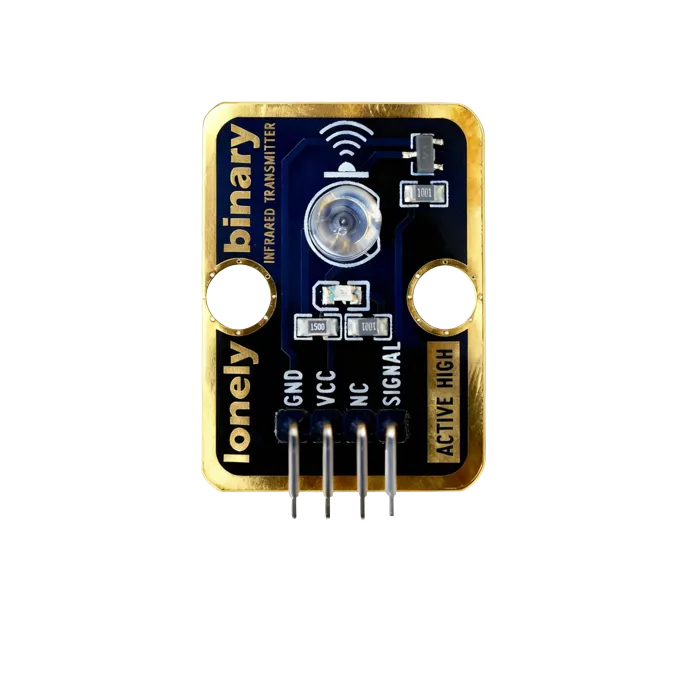
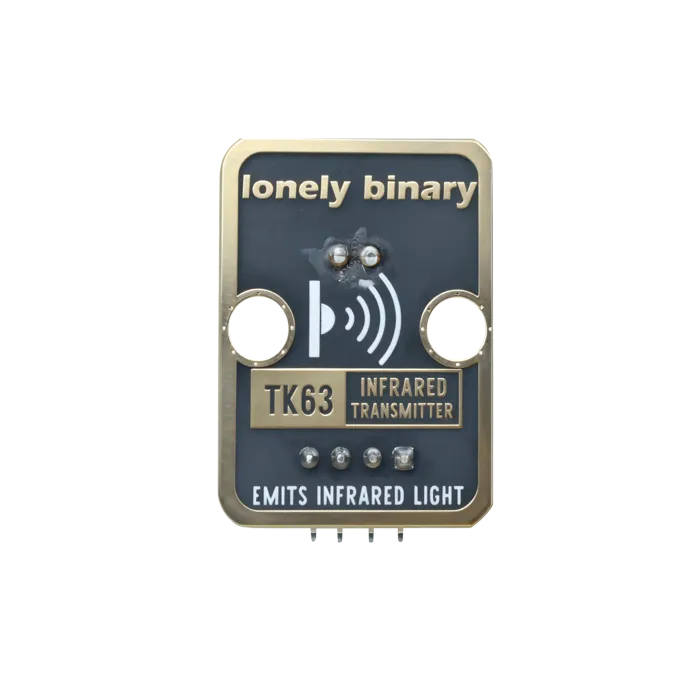
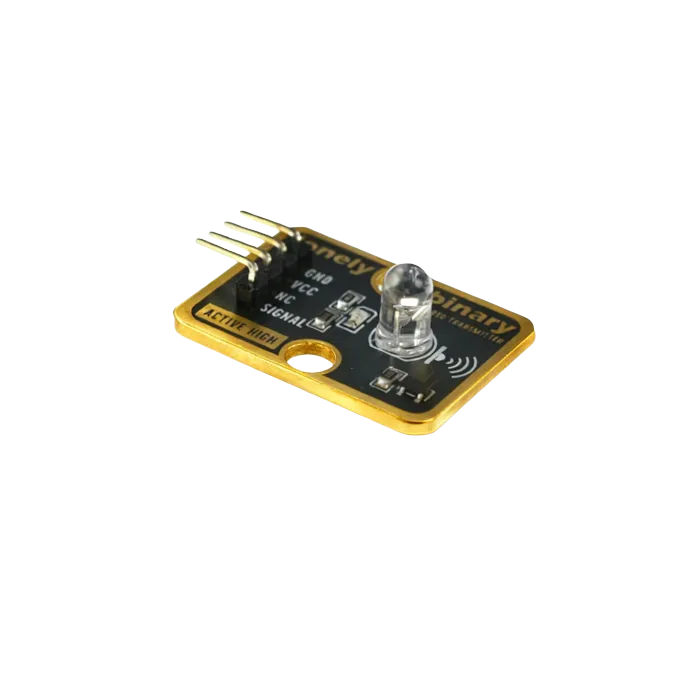
Pinout
- GND (negative): Like the negative terminal (-) of a battery, connect to the control board's GND
- VCC (positive): Like the positive terminal (+) of a battery, connect to the control board's 3.3V or 5V (this module supports both 3.3V and 5V)
- NC (no connection): No actual circuit connection, included for unified interface, can be left unconnected
- SIGNAL (signal input): Pin to control infrared transmission, connect to the control board's digital pin (e.g. Arduino D3 or Pico GPIO 0)
- Emits infrared light when HIGH (HIGH/1)
- Does not emit when LOW (LOW/0)
Wiring
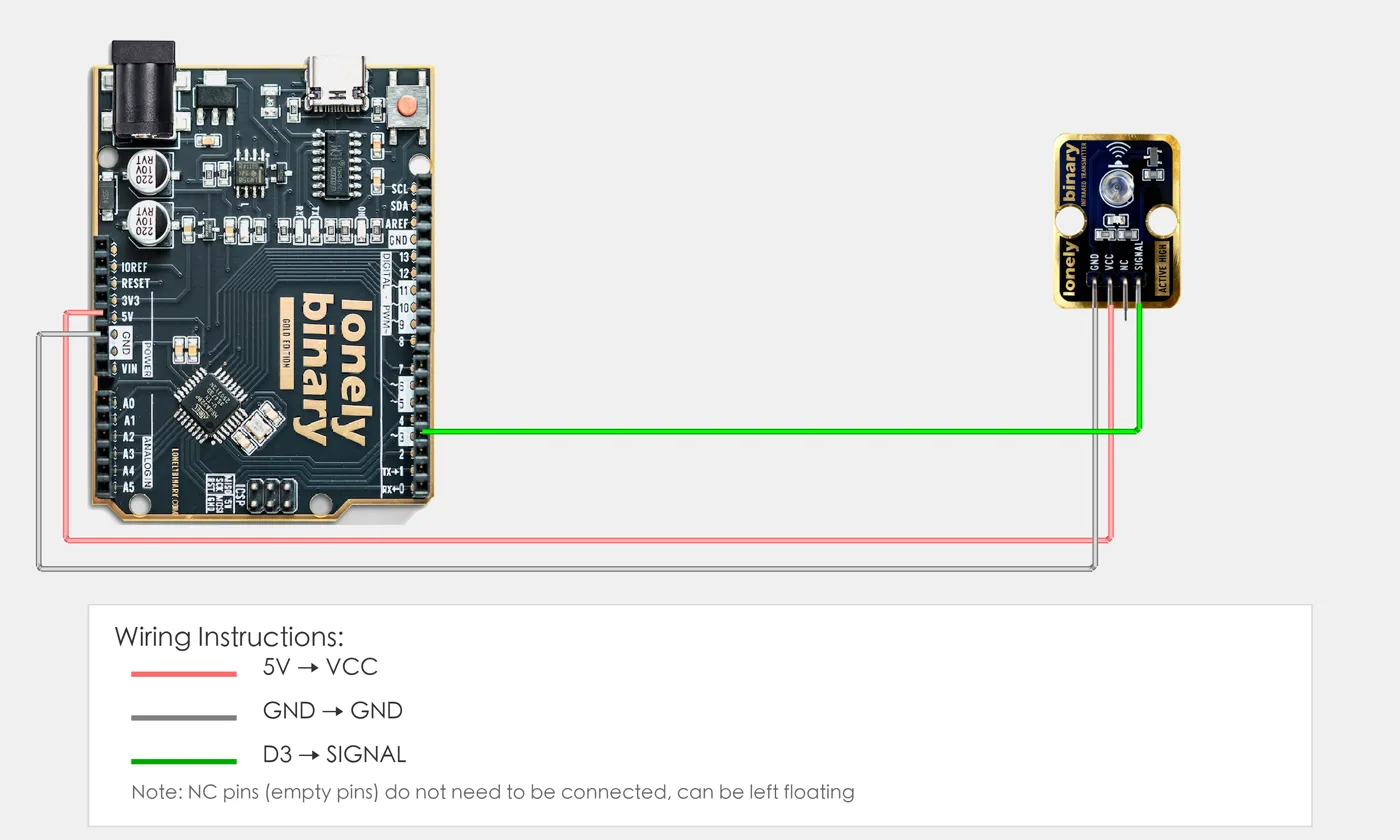
- GND → Control board GND
- VCC → Control board 3.3V or 5V
- SIGNAL → Control board digital pin (use the pin defined in your program)
Example
// Pin number: change this to match your wiring
#define IR_TX_PIN 3  // Arduino digital pin connected to SIGNAL (e.g. D3, recommended to use PWM-capable pin)

void setup() {
  // Start serial for debugging (9600 baud)
  Serial.begin(9600);

  Serial.println("Infrared transmitter program started");
  Serial.println("Transmitting infrared signal...");
}

void loop() {
  // Transmit infrared signal (38kHz modulation)
  // Note: Arduino Uno can use tone() function to generate 38kHz frequency
  // But IRremote library is more recommended for infrared communication

  // Simple example: rapid switching to simulate transmission (IRremote library recommended for actual applications)
  for (int i = 0; i < 100; i++) {
    digitalWrite(IR_TX_PIN, HIGH);
    delayMicroseconds(13);  // 38kHz period is about 26 microseconds, HIGH for 13 microseconds
    digitalWrite(IR_TX_PIN, LOW);
    delayMicroseconds(13);
  }

  Serial.println("Infrared signal transmitted");
  delay(1000);  // Wait 1 second before transmitting again
}# Import required modules
from machine import Pin, PWM # GPIO control and PWM
import time # For delay (time.sleep)
# Pin number: change this to match your wiring
IR_TX_PIN = 0 # GPIO connected to SIGNAL (e.g. GPIO 0)
# Create PWM object (for generating 38kHz frequency)
ir_tx = PWM(Pin(IR_TX_PIN))
# Set PWM frequency to 38kHz (common frequency for infrared remote control)
ir_tx.freq(38000)
print("Infrared transmitter program started")
print("Transmitting infrared signal...")
# Main loop: runs forever
while True:
# Transmit infrared signal (38kHz modulation)
# Set duty cycle to 50% (half of 65535)
ir_tx.duty_u16(32767) # 50% duty cycle
time.sleep(0.1) # Transmit for 100 milliseconds
# Stop transmission
ir_tx.duty_u16(0) # 0% duty cycle, stop transmission
time.sleep(1) # Wait 1 second before transmitting again
print("Infrared signal transmitted")When it doesn’t work
- I cannot tell whether it is on.
- Point a phone camera at it. Most cameras show IR as pale purple; a few newer phones filter it out, in which case try an older one.
- The range is short.
- IR falls off fast and the on-board resistor is sized for safety, not distance. Align it precisely, or drive it harder with an external transistor.
- It does not trigger my TV.
- A steady LED is not a remote signal. You need the 38 kHz carrier and a protocol — that is TK16 plus the IR library.