Specifications
| Type | IR photodiode / phototransistor |
|---|---|
| Wavelength | Peaks near 940 nm |
| Output | Analog level, and digital on the threshold variant |
| Supply voltage | 3.3 V or 5 V |
What it is
A photodiode sensitive to infrared, without the filtering and demodulation that TK15 has.
That absence is the point. TK15 deliberately ignores anything that is not a 38 kHz carrier, which makes it excellent at remote controls and useless for detecting a steady beam. This part sees the beam, and reports roughly how much of it there is.
Paired with TK63 it makes a break-beam sensor: aim them at each other, read the level, and a drop means something passed through. Because it responds to steady light it also responds to sunlight and to incandescent bulbs, so shield it or compare against a baseline you sample at startup.
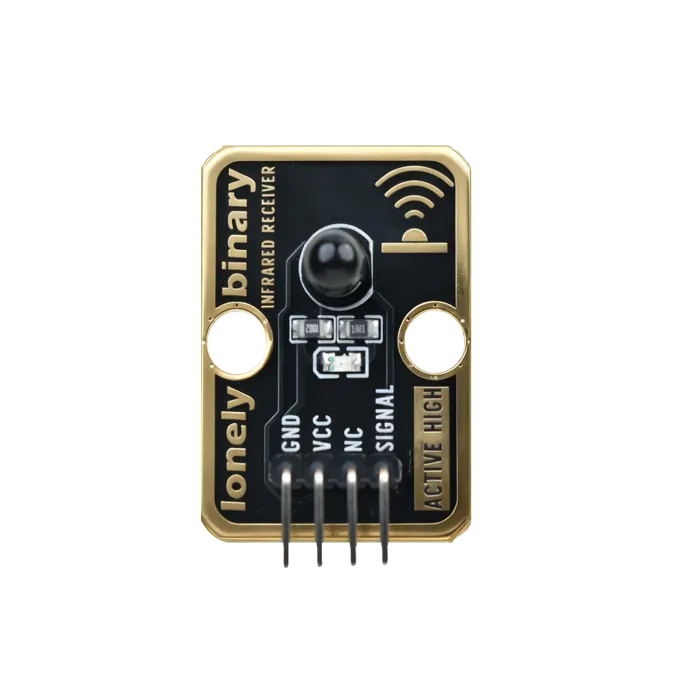
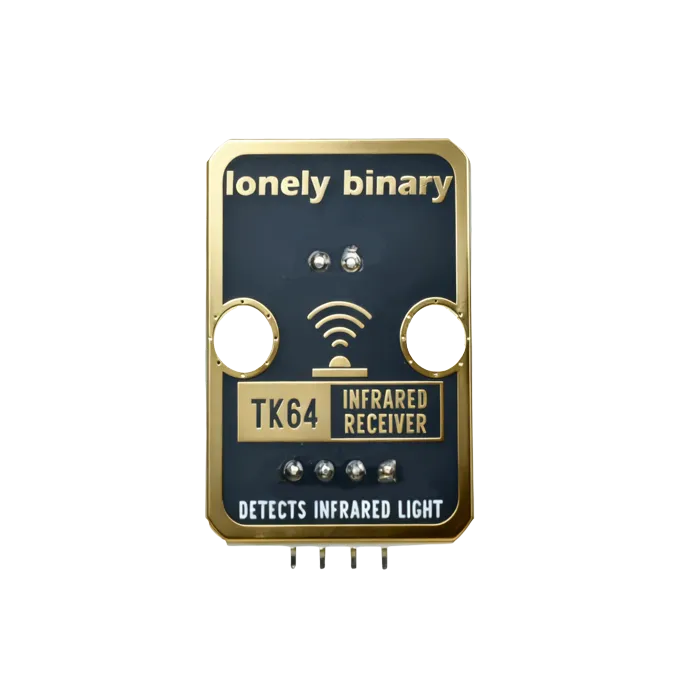
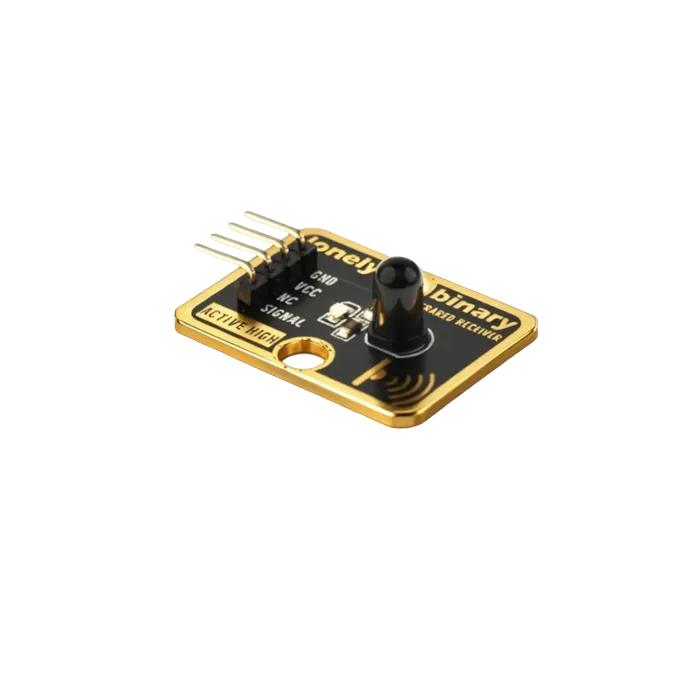
Pinout
- GND (negative): Like the negative terminal (-) of a battery, connect to the control board's GND
- VCC (positive): Like the positive terminal (+) of a battery, connect to the control board's 3.3V or 5V (this module supports both 3.3V and 5V)
- NC (no connection): No actual circuit connection, included for unified interface, can be left unconnected
- SIGNAL (signal output): Infrared signal output pin, connect to the control board's digital pin (e.g. Arduino D2 or Pico GPIO 0)
- Outputs decoded data when receiving infrared signal
- Maintains HIGH when no signal received
Wiring
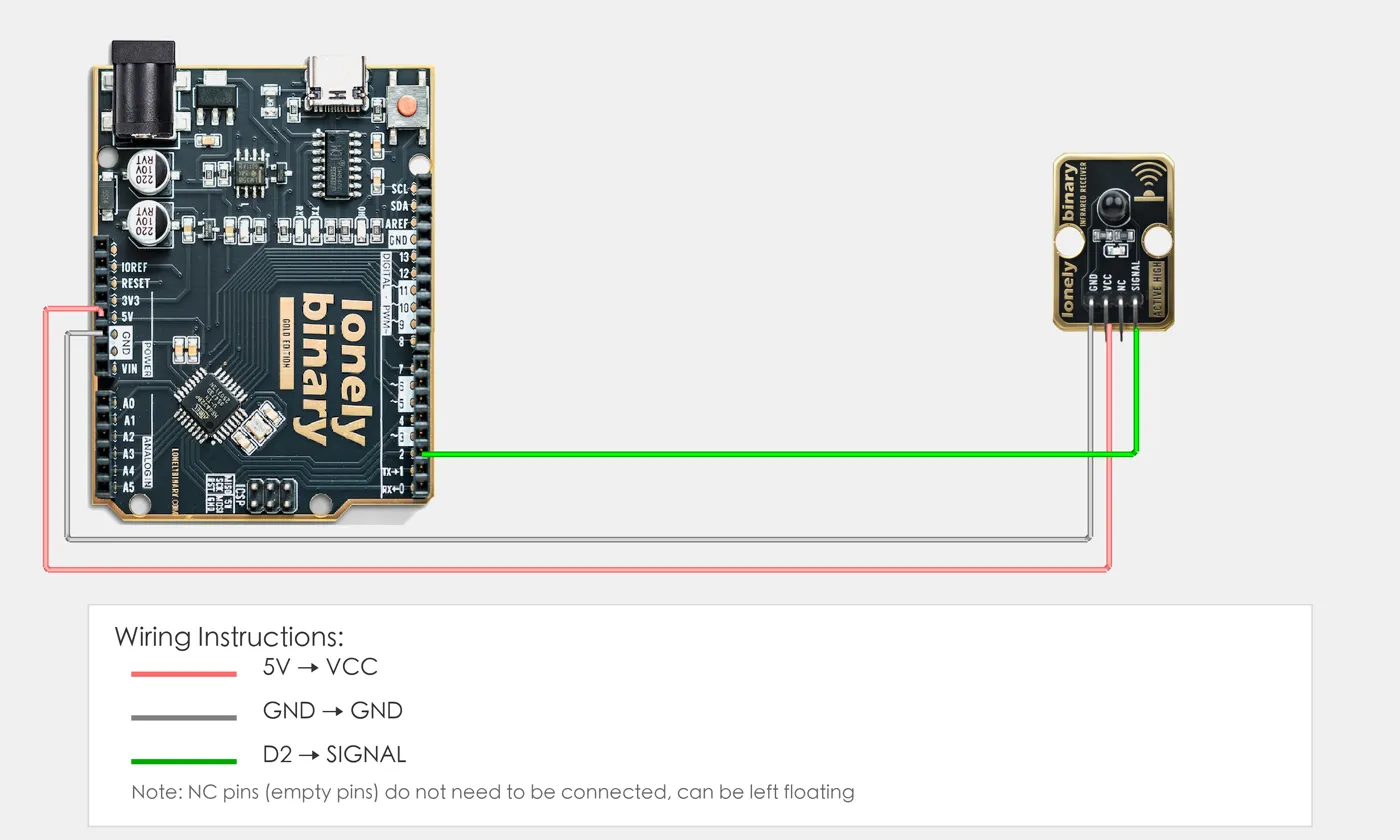
- GND → Control board GND
- VCC → Control board 3.3V or 5V
- SIGNAL → Control board digital pin (use the pin defined in your program)
Example
// Note: This program requires IRremote library
// Installation: Tools → Manage Libraries → Search "IRremote" → Install

#include <IRremote.h>  // Import infrared receiver library

// Pin number: change this to match your wiring
#define IR_RX_PIN 2  // Arduino digital pin connected to SIGNAL (e.g. D2)

// Create infrared receiver object
IRrecv irrecv(IR_RX_PIN);
decode_results results;  // Store decoding results

void setup() {
  // Start serial for debugging (9600 baud)
  Serial.begin(9600);

  // Start infrared reception
  irrecv.enableIRIn();

  Serial.println("Infrared receiver program started");
  Serial.println("Waiting to receive infrared signal...");
}

void loop() {
  // Check if infrared signal received
  if (irrecv.decode(&results)) {
    // Signal received, print decoding results
    Serial.print("Infrared signal received, decoded value: 0x");
    Serial.println(results.value, HEX);  // Display in hexadecimal

    // Identify common infrared remote codes
    switch(results.value) {
      case 0xFF00FF:  // Example: a button on a remote
        Serial.println("Button 1 pressed");
        break;
      case 0xFF807F:  // Example: another button on a remote
        Serial.println("Button 2 pressed");
        break;
      default:
        Serial.println("Unknown button");
        break;
    }

    // Continue receiving next signal
    irrecv.resume();
  }

  delay(100);  // Brief delay
}# Note: This program requires micropython-ir library
# Installation: Copy ir.py file to Pico
# Import required modules
from machine import Pin # GPIO control
import time # For delay (time.sleep)
# Pin number: change this to match your wiring
IR_RX_PIN = 0 # GPIO connected to SIGNAL (e.g. GPIO 0)
# Create pin object
ir_rx = Pin(IR_RX_PIN, Pin.IN) # Set infrared receiver pin as input mode
print("Infrared receiver program started")
print("Waiting to receive infrared signal...")
# Variables
last_state = 1 # Previous pin state (default HIGH)
# Main loop: runs forever
while True:
# Read pin state
current_state = ir_rx.value()
# Detect signal change (HIGH to LOW indicates signal received)
if current_state == 0 and last_state == 1:
print("Infrared signal detected")
# Note: Complete decoding requires micropython-ir library
# This is just simple signal change detection
# Update previous state
last_state = current_state
time.sleep(0.01) # Brief delayWhen it doesn’t work
- It reads high even with the emitter off.
- Ambient infrared. Sample the level with the emitter off, then with it on, and use the difference — that cancels the background.
- It cannot decode my remote.
- Correct, and by design. Remotes send a 38 kHz carrier that this part cannot separate from the background. Use TK15.
- The reading swings through the day.
- Sunlight. Shield the sensor, or re-baseline periodically.