Specifications
| Type | Reed switch, normally open |
|---|---|
| Actuation | Magnetic, no contact |
| Pull-up | Fitted on the module |
| Supply voltage | 3.3 V or 5 V |
What it is
Two ferrous contacts in a sealed glass tube. A magnet nearby magnetises them, they attract each other, and the circuit closes.
It is a switch, so unlike TK18 there is no semiconductor and no quiescent current — the switching itself takes no power at all. Sealed in glass, it works in damp and dusty places where an exposed contact would corrode.
Compared with the Hall sensor: the reed switch is not polarity-sensitive (either pole works), tolerates a wider gap, and costs less. What it gives up is speed and life — the contacts are mechanical, they bounce, and they eventually wear out, which makes it wrong for counting a spinning wheel.
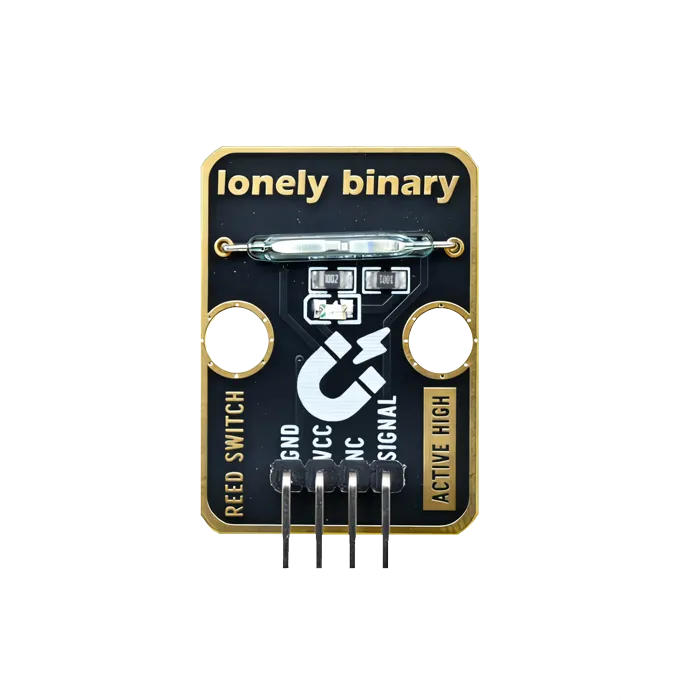
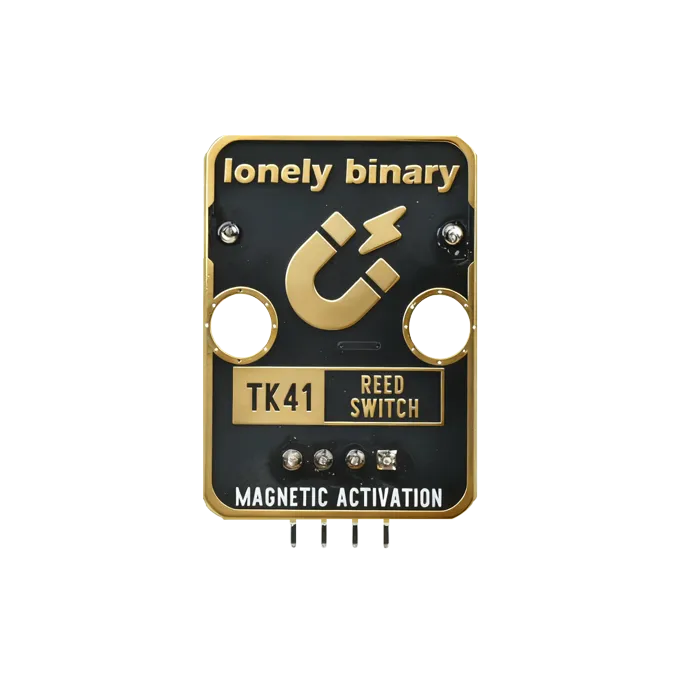
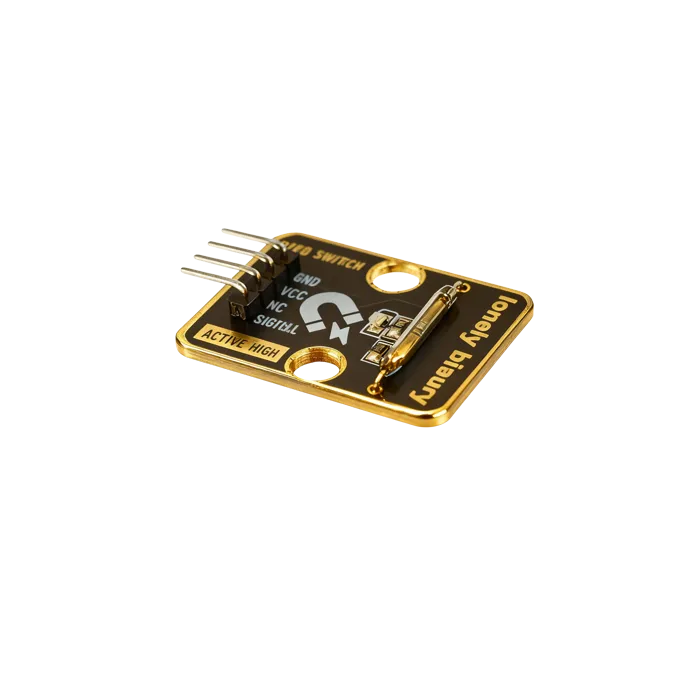
Pinout
- GND (negative): Like the negative terminal (-) of a battery, connect to the control board's GND
- VCC (positive): Like the positive terminal (+) of a battery, connect to the control board's 3.3V or 5V (this module supports both 3.3V and 5V)
- NC (no connection): No actual circuit connection, included for unified interface, can be left unconnected
- SIGNAL (signal output): Magnetic field detection output pin, connect to the control board's digital pin (e.g. Arduino D2 or Pico GPIO 0)
- Outputs HIGH (HIGH/1) when magnetic field is detected
- Outputs LOW (LOW/0) when no magnetic field is detected
Wiring
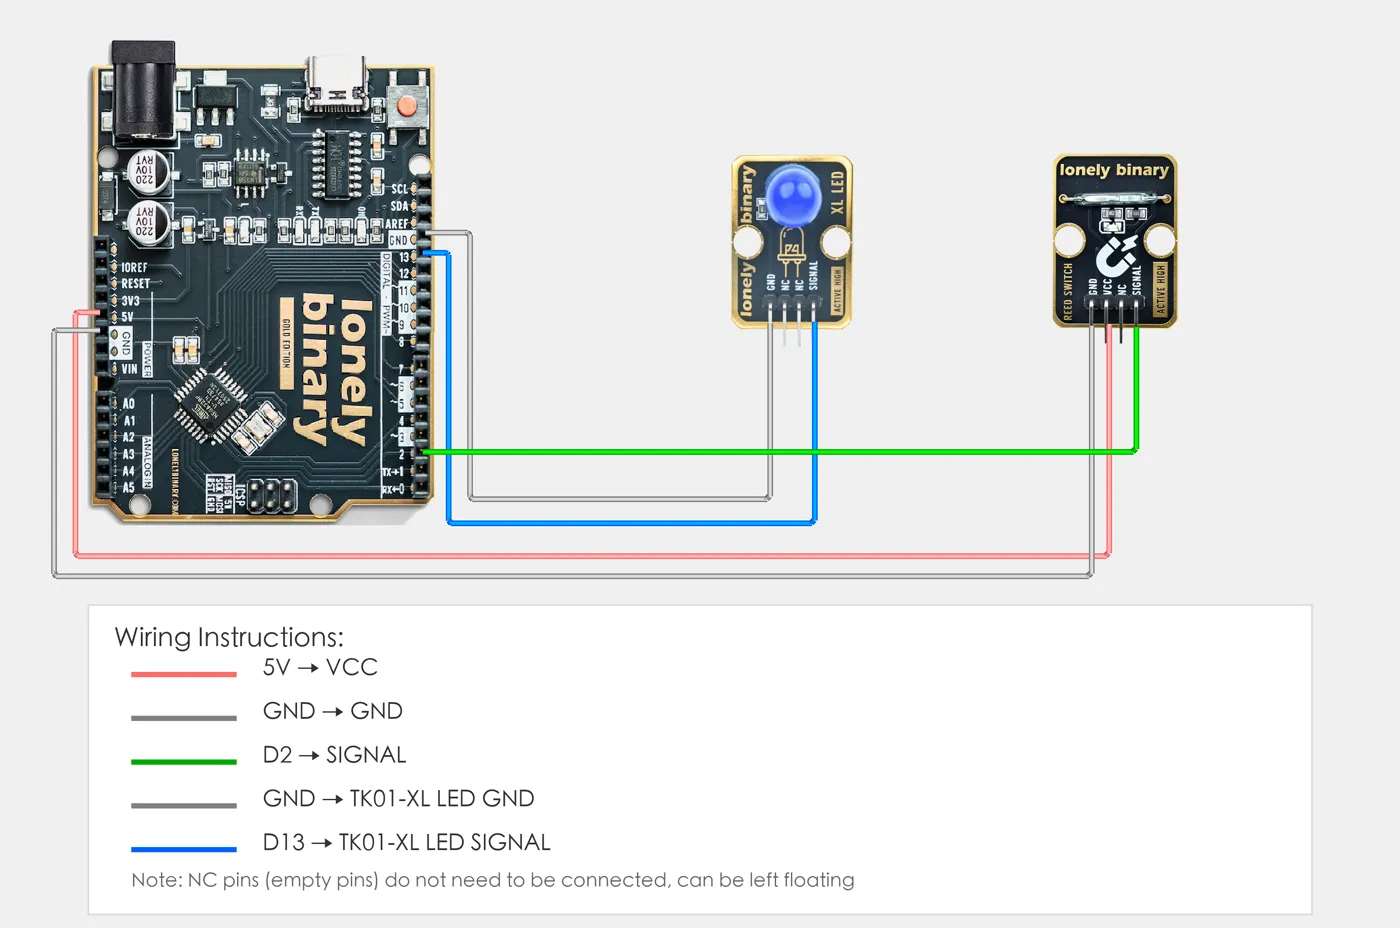
- GND → Control board GND
- VCC → Control board 3.3V or 5V
- SIGNAL → Control board digital pin (use the pin defined in your program)
Example
// Pin number: change this to match your wiring
#define REED_PIN 2   // Arduino digital pin connected to SIGNAL (e.g. D2)
#define LED_PIN 13   // LED pin (Arduino built-in LED on pin 13, or external LED)

void setup() {
  // Initialize pin modes
  pinMode(REED_PIN, INPUT);   // Set magnetic switch pin as input (to read detection state)
  pinMode(LED_PIN, OUTPUT);   // Set LED pin as output (to control LED on/off)

  // Start serial for debugging (9600 baud)
  Serial.begin(9600);

  Serial.println("Magnetic switch program started");
  Serial.println("LED on when magnetic field detected, LED off when no magnetic field");
}

void loop() {
  // Read magnetic switch state
  int reedState = digitalRead(REED_PIN);  // Read switch pin level: HIGH(1) = magnetic field detected, LOW(0) = no magnetic field

  // Control LED based on detection state
  if (reedState == HIGH) {
    // Magnetic field detected: LED on
    digitalWrite(LED_PIN, HIGH);
    Serial.println("Magnetic field detected - LED on");
  } else {
    // No magnetic field detected: LED off
    digitalWrite(LED_PIN, LOW);
    Serial.println("No magnetic field detected - LED off");
  }

  delay(100);  // Brief delay to avoid reading too fast
}# Import required modules
from machine import Pin # GPIO control
import time # For delay (time.sleep)
# Pin number: change these to match your wiring
REED_PIN = 0 # GPIO connected to SIGNAL (e.g. GPIO 0)
LED_PIN = 1 # LED pin (GPIO 1, or external LED, Pico built-in LED is GPIO 25)
# Create pin objects
reed = Pin(REED_PIN, Pin.IN) # Set magnetic switch pin as input (to read detection state)
led = Pin(LED_PIN, Pin.OUT) # Set LED pin as output (to control LED on/off)
print("Magnetic switch program started")
print("LED on when magnetic field detected, LED off when no magnetic field")
# Main loop: runs forever
while True:
# Read magnetic switch state
reedState = reed.value() # Read switch pin level: 1 = magnetic field detected (HIGH), 0 = no magnetic field (LOW)
# Control LED based on detection state
if reedState == 1:
# Magnetic field detected: turn LED on and print message
led.on() # Output HIGH, LED on
print("Magnetic field detected - LED on")
else:
# No magnetic field detected: turn LED off
led.off() # Output LOW, LED off
print("No magnetic field detected - LED off")
# Delay 100 milliseconds to avoid reading too fast
time.sleep_ms(100)When it doesn’t work
- It chatters as the magnet approaches.
- Mechanical contacts bounce, and near the threshold they hover. Debounce for 30 ms, and mount the magnet so it passes decisively rather than creeping up.
- The glass tube broke.
- They are fragile and they do not survive being bent at the leads. Support the body, not the wires.
- Can I count wheel rotations with it?
- Not for long. Reed contacts are rated for a finite number of operations; a wheel sensor will exhaust one. Use TK18 or TK61.